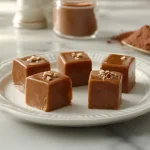
Fudge holds a cherished place in the world of confections, known for its rich, creamy texture and melt-in-your-mouth sweetness. But what is the secret to perfect fudge? The answer lies in a harmonious blend of science and artistry, with just a touch of patience. This timeless treat, enjoyed by people of all ages, has an allure that transcends seasons and occasions. Whether you’re preparing fudge for a festive gathering, a thoughtful gift, or simply a personal indulgence, understanding its nuances can transform your efforts from ordinary to extraordinary. For those seeking more inspiration, try this delightful peanut butter fantasy fudge recipe. Let’s delve into the essentials of fudge-making and uncover what makes this sweet delight truly special.
Table of Contents
Understanding Fudge: The Basics
Fudge is a confection that exemplifies the perfect balance between flavor and texture. At its core, fudge is a type of soft candy made by combining sugar, butter, and milk (or cream), then cooking the mixture to a specific temperature. The process doesn’t end there; cooling and beating the cooked mixture is essential to achieve its iconic creamy consistency. The art of fudge lies in maintaining the right balance between firmness and softness, ensuring it isn’t too hard or too gooey.
The appeal of fudge extends beyond its taste. Its adaptability allows for countless variations, from classic chocolate to adventurous flavors like salted caramel or peanut butter swirl. Fudge is as versatile as it is indulgent, making it a staple for holidays, celebrations, and everyday treats. However, achieving that flawless fudge isn’t just about following a recipe—it requires a solid understanding of its basic principles.
What is Fudge and Its Origin?
Fudge’s history is as delightful as its flavor. It’s widely believed that fudge was invented by accident in the late 19th century. According to popular lore, an amateur candy maker in the United States was attempting to create a batch of caramel but “fudged” the process, resulting in a new and delicious creation. The name “fudge” itself is thought to have been derived from this happy accident.
From its humble beginnings, fudge quickly gained popularity, becoming a beloved treat sold at fairs, festivals, and specialty candy shops. Over time, its recipe and techniques were refined, paving the way for modern variations that cater to diverse palates. Despite its evolution, fudge remains a symbol of indulgence and comfort, cherished for its rich history and satisfying taste.
Key Ingredients in Traditional Fudge
Creating perfect fudge starts with the right ingredients. Traditional fudge relies on a few simple components that work together to create its signature texture and flavor:
- Sugar: The backbone of fudge, sugar not only provides sweetness but also contributes to its structure. Granulated sugar is commonly used, although brown sugar can add a touch of caramel-like depth.
- Butter: This essential fat lends creaminess and richness to fudge, enhancing its melt-in-your-mouth quality.
- Milk or Cream: The liquid component helps dissolve the sugar and creates the base for the mixture. Heavy cream is often preferred for its higher fat content, which results in a smoother texture.
- Flavorings: Vanilla extract is a classic addition, but other flavorings like cocoa powder, chocolate chips, or peanut butter can elevate the fudge to new heights.
The quality of these ingredients can significantly impact the final product. Fresh, high-quality butter and real vanilla extract, for example, can make a noticeable difference in taste and texture.
How Fudge Differs from Other Candies
Fudge stands out from other confections due to its unique combination of texture and preparation. Unlike hard candies, which rely on high-temperature cooking to achieve their firmness, fudge is cooked to a lower temperature (typically around 234–240°F, known as the “soft-ball stage”). This allows fudge to retain its creamy consistency while still holding its shape.
Furthermore, the beating process sets fudge apart. Once the mixture cools slightly, it is beaten to incorporate air and encourage the formation of tiny sugar crystals. These microcrystals are what give fudge its smooth texture. In contrast, candies like toffee or brittle are left to cool without agitation, resulting in a hard, crunchy texture.
In essence, fudge is a confection that celebrates the delicate interplay of science and creativity. Understanding its fundamentals is the first step in mastering the art of making perfect fudge, a sweet treat that never fails to delight.
What Is the Secret to Perfect Fudge? The Science Behind It
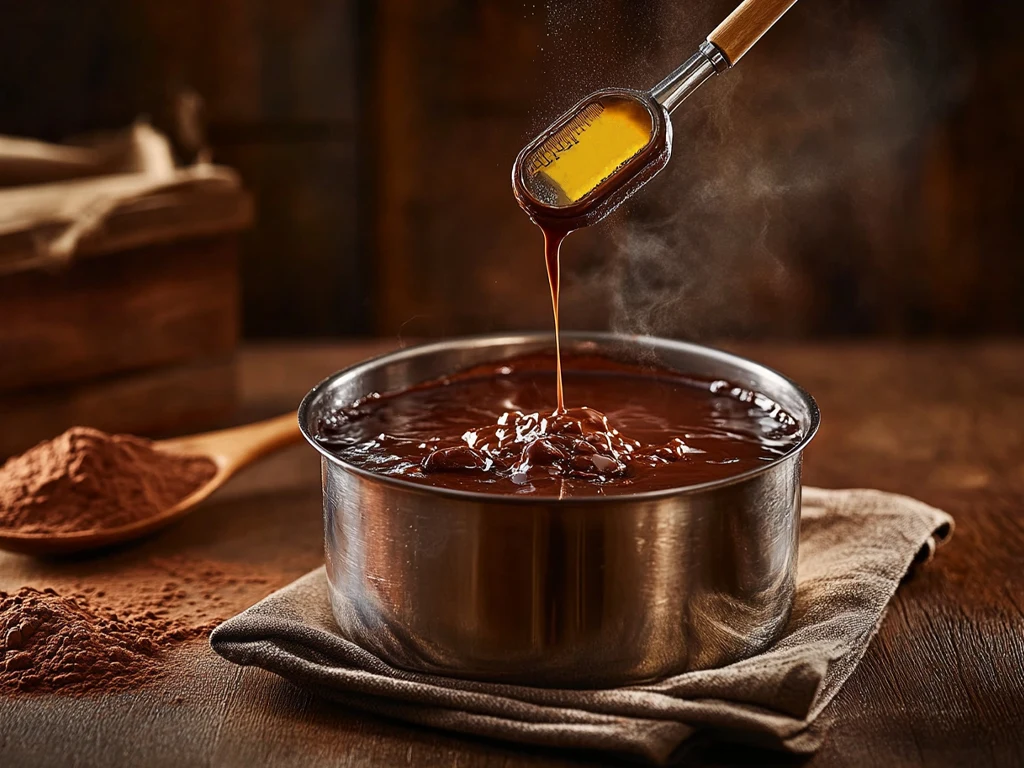
Fudge-making is a delicate dance of chemistry and precision, where every step plays a crucial role in the final product. Understanding the science behind fudge can mean the difference between a creamy masterpiece and a grainy disaster. By mastering the interplay of temperature, crystal formation, and precise measurements, you can unlock the secrets to perfect fudge every time.
The Role of Temperature in Fudge-Making
Temperature is arguably the most critical factor in creating perfect fudge. The process revolves around reaching the “soft-ball stage,” where the mixture of sugar, butter, and milk reaches 234–240°F. This range is key because it ensures the sugar is sufficiently dissolved without overcooking the mixture.
At temperatures below this range, fudge may not set properly, resulting in a runny consistency. On the other hand, exceeding this temperature can lead to a hard, brittle texture, as the sugar crystals form too quickly and become large. Using a reliable candy thermometer is non-negotiable for monitoring this critical phase.
Temperature control doesn’t stop at cooking. Allowing the mixture to cool undisturbed to around 110°F before beating is equally important. This cooling period lets the sugar molecules stabilize, preparing the mixture for the next step in achieving that signature smoothness.
How Crystals Impact Fudge Texture
The hallmark of good fudge lies in its creamy, smooth texture, which is achieved through the careful management of sugar crystals. When sugar dissolves in the liquid mixture, it forms a syrup. As this syrup cools, sugar molecules begin to crystallize. The size of these crystals determines the texture of the fudge.
Ideally, fudge should contain tiny, uniform sugar crystals. Large crystals, which can form if the mixture is stirred too early or improperly cooled, result in a grainy texture. Beating the mixture at the right temperature encourages the formation of microcrystals, which create the desired creamy consistency.
Additionally, adding ingredients like corn syrup or cream of tartar can help inhibit the formation of large crystals by interfering with the sugar’s natural tendency to recrystallize. This is why many fudge recipes include these components, especially for beginners.
Why Precision Matters in Fudge Recipes
Precision is the golden rule of fudge-making. Small deviations in ingredient ratios, temperature, or timing can drastically alter the outcome. Here’s why attention to detail is non-negotiable:
- Ingredient Ratios: The balance between sugar, fat, and liquid must be exact. Too much sugar can lead to overly firm fudge, while too little might prevent it from setting.
- Cooking Time and Temperature: The soft-ball stage is a narrow window, and missing it by even a few degrees can lead to textural issues. Always calibrate your candy thermometer for accuracy.
- Cooling and Beating: Rushing the cooling process or overbeating can both negatively affect the texture. Patience is key to achieving fudge that’s smooth and silky.
Precision extends beyond the kitchen to include environmental factors. Humidity, for example, can influence sugar’s ability to crystallize properly. On particularly damp days, it may be harder to achieve the ideal texture without adjusting your method or ingredients.
In summary, fudge-making is as much about science as it is about artistry. By understanding the role of temperature, the impact of crystals, and the necessity of precision, you’re well on your way to mastering the craft. Once you’ve honed these fundamentals, the door to perfect fudge is wide open.
Step-by-Step Guide to Making Fudge
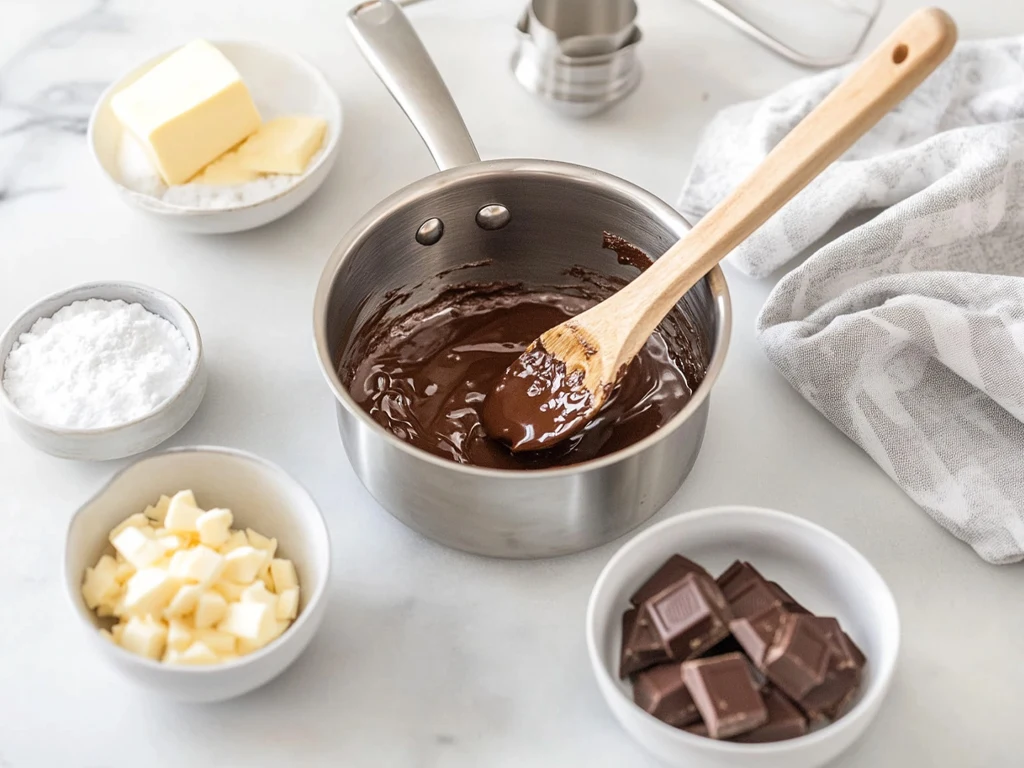
Creating perfect fudge requires a systematic approach and attention to detail. By following these clear and concise steps, you can ensure success and produce a batch of creamy, melt-in-your-mouth fudge every time. Let’s dive into the process.
Preparing the Tools and Workspace
Before you begin, preparation is key. Having all your tools and ingredients ready can make the fudge-making process smoother and more enjoyable. Here’s a checklist to get you started:
- Essential Tools:
- A heavy-bottomed saucepan to ensure even heat distribution.
- A reliable candy thermometer to monitor temperature accurately.
- A wooden spoon or heat-resistant silicone spatula for stirring.
- A baking dish or pan lined with parchment paper for setting the fudge.
- Workspace Setup:
- Clear your counters of unnecessary items to give yourself ample space to work.
- Measure and prepare all ingredients ahead of time, placing them in separate bowls for easy access.
- Ensure your candy thermometer is properly calibrated by testing it in boiling water (it should read 212°F at sea level).
Preparation not only minimizes mistakes but also ensures you can focus on the critical stages of fudge-making.
Combining Ingredients: Tips for Success
The foundation of good fudge starts with properly combining the ingredients. Follow these tips to set yourself up for success:
- Heat Gently:
- Combine sugar, butter, and milk in your saucepan over low heat to dissolve the sugar completely before increasing the temperature. Undissolved sugar can lead to grainy fudge.
- Stir Consistently:
- Stir the mixture gently but consistently to prevent scorching at the bottom of the pan.
- Add Flavorings Thoughtfully:
- If using cocoa powder, chocolate chips, or other flavorings, add them at the appropriate stage to ensure even distribution. Vanilla extract, for instance, is best added after cooking to preserve its aroma.
Consistency during this stage lays the groundwork for smooth, creamy fudge.
Mastering the Boiling Process
This stage is where precision becomes crucial. Here’s how to navigate it:
- Reach the Soft-Ball Stage:
- Heat the mixture until it reaches 234–240°F on your candy thermometer. This is the “soft-ball stage,” where a drop of the mixture forms a soft, malleable ball when dropped into cold water.
- Avoid Overcooking:
- Once the desired temperature is reached, remove the pan from heat immediately to prevent overcooking, which can make the fudge too hard.
- Do Not Stir:
- During the boiling phase, avoid stirring the mixture as this can encourage premature crystal formation, leading to a grainy texture.
Achieving the perfect temperature during this stage is the cornerstone of successful fudge-making.
Cooling and Beating: The Secret to Smoothness
The final stages of fudge-making are where texture is truly determined. Follow these steps carefully:
- Cool Undisturbed:
- Allow the mixture to cool to about 110°F without stirring. This cooling phase stabilizes the sugar molecules, setting the stage for beating.
- Beat to Perfection:
- Once cooled, begin beating the mixture with a wooden spoon or electric mixer. This process incorporates air and encourages the formation of tiny sugar crystals, which are key to the creamy texture.
- Monitor the Consistency:
- Continue beating until the fudge loses its gloss and thickens significantly. This indicates that it’s ready to be poured into the prepared pan.
- Set and Enjoy:
- Pour the mixture into the lined pan, spreading it evenly. Let it set at room temperature for a few hours before cutting into pieces.
Cooling and beating require patience, but they are the final steps to achieving perfectly smooth and creamy fudge. With practice, these techniques become second nature, allowing you to create delectable fudge that impresses every time.
Common Challenges in Fudge-Making
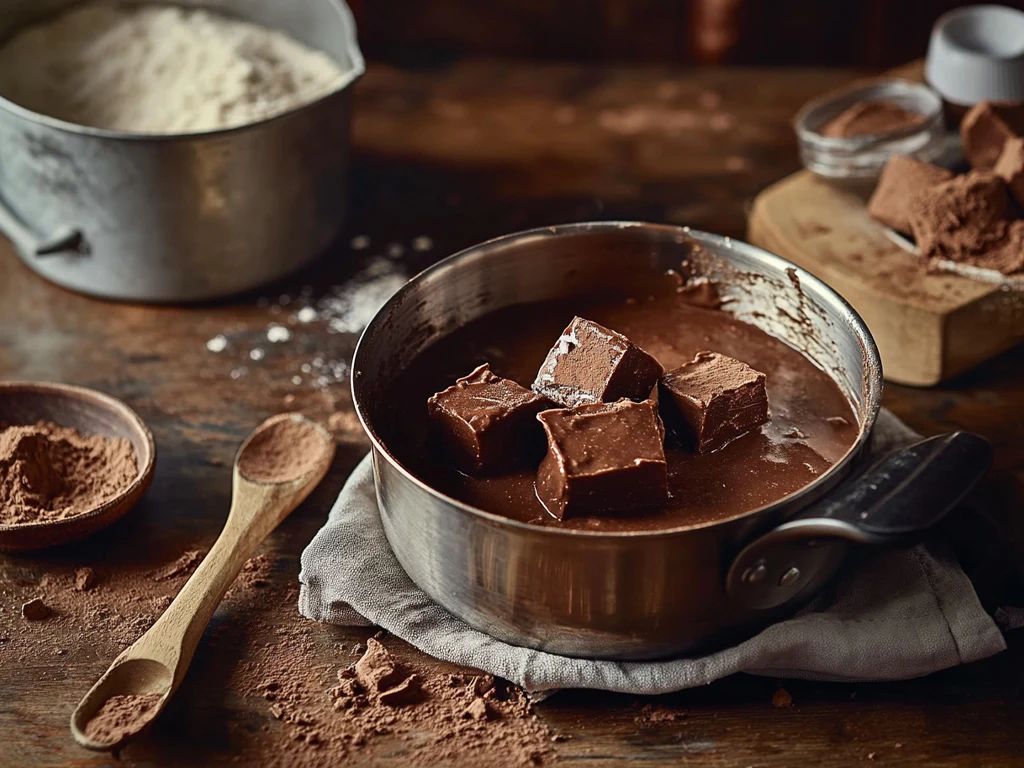
Fudge-making, though rewarding, comes with its share of challenges. Even seasoned confectioners occasionally encounter issues that can turn a promising batch into a learning experience. Let’s explore some common problems and how to resolve them, ensuring you’re prepared for success every time.
Why Does Fudge Turn Out Grainy?
One of the most frequent complaints among fudge-makers is a grainy texture. This occurs when large sugar crystals form, disrupting the smoothness that defines perfect fudge. Here’s why this happens and how to prevent it:
- Undissolved Sugar: If the sugar isn’t fully dissolved during the initial heating phase, it’s likely to crystallize later. Stir gently over low heat until the mixture becomes completely smooth.
- Premature Stirring: Stirring the fudge mixture before it cools to the appropriate temperature (around 110°F) can also encourage the formation of large crystals. Allow the mixture to cool undisturbed before beating.
- Environmental Factors: Humidity can cause the sugar to recrystallize unevenly. If possible, make fudge on a dry day to reduce this risk.
Pro Tip: Adding ingredients like corn syrup or cream of tartar can interfere with sugar’s tendency to crystallize, making it easier to achieve a smooth texture.
Fixing Overcooked or Undercooked Fudge
Cooking fudge to the correct temperature is essential. Both overcooking and undercooking can compromise the texture and flavor. Here’s how to identify and fix these issues:
- Overcooked Fudge:
- Symptoms: The fudge is too hard and brittle.
- Fix: Try reheating the mixture with a small amount of water or cream to soften it, then recook it to the correct temperature (234–240°F). Be sure to monitor closely with a candy thermometer.
- Undercooked Fudge:
- Symptoms: The fudge is runny and doesn’t set properly.
- Fix: Reheat the mixture, bringing it to the correct temperature. Allow it to cool and beat as usual. This should help the fudge firm up.
Remember, a reliable candy thermometer is your best ally in achieving the perfect consistency.
Storage Mistakes That Ruin Fudge Quality
Even after mastering the cooking process, improper storage can spoil your fudge. Here are some common mistakes and how to avoid them:
- Exposing Fudge to Air:
- Air exposure can dry out fudge, causing it to lose its creamy texture. Always store fudge in an airtight container, separating layers with wax or parchment paper to prevent sticking.
- Refrigeration Issues:
- While refrigeration can extend the shelf life of fudge, it can also make it hard and alter its texture. If you must refrigerate, allow the fudge to come to room temperature before serving.
- Incorrect Freezing:
- Freezing fudge can preserve it for months, but improper wrapping can lead to freezer burn. Wrap the fudge tightly in plastic wrap, then place it in a freezer-safe container for optimal results.
Pro Tip: Properly stored, fudge can stay fresh at room temperature for up to two weeks. For longer storage, freezing is an excellent option if done correctly.
By understanding these common challenges and their solutions, you’ll gain confidence in your fudge-making abilities. With practice and attention to detail, you can overcome these hurdles and create consistently delicious results.
Secrets to Flavorful Fudge
The taste of fudge is what truly sets it apart, and crafting a batch brimming with flavor is every confectioner’s goal. The secret lies in selecting the right ingredients, incorporating complementary add-ins, and experimenting with creative variations. Here’s how you can elevate your fudge-making to create unforgettable treats.
Choosing the Right Chocolate or Cocoa
The foundation of flavorful fudge often begins with the chocolate or cocoa you choose. Quality matters, and here’s how to make the best selection:
- Dark Chocolate:
- Opt for dark chocolate with at least 60% cacao for a rich, intense flavor. Avoid overly sweet varieties that may overpower the other ingredients.
- Milk Chocolate:
- Milk chocolate adds a creamy, mild sweetness. This is a great option for those who prefer a lighter flavor.
- Cocoa Powder:
- Use unsweetened cocoa powder for traditional fudge. Be sure to sift it to avoid lumps, and pair it with additional sweeteners to balance the bitterness.
- White Chocolate:
- White chocolate creates a smooth, buttery fudge base, ideal for pairing with fruit flavors or nuts.
Always taste-test your chocolate or cocoa before incorporating it into your fudge. High-quality options yield the best results and ensure a deeper, more satisfying flavor.
Adding Extracts, Nuts, and Toppings
Enhancing fudge with extracts, nuts, and toppings is a simple yet effective way to customize flavor and texture. Here are some ideas to try:
- Extracts:
- Vanilla Extract: A classic addition that enhances the natural sweetness of fudge.
- Mint Extract: Perfect for creating holiday-themed fudge.
- Almond or Orange Extracts: These add a sophisticated twist to your recipe.
- Nuts:
- Pecans or Walnuts: Provide a crunchy contrast to the creamy texture.
- Almonds: Pair well with chocolate for a classic combination.
- Hazelnuts: Add a nutty richness that complements dark chocolate.
- Toppings:
- Sea Salt: A sprinkle of flaky sea salt balances sweetness and adds a gourmet touch.
- Coconut Flakes: For a tropical twist.
- Candy Pieces or Sprinkles: Ideal for adding color and fun for kids.
The key is to balance flavors and textures, ensuring each bite is harmonious and delightful.
Creative Variations to Try at Home
Experimenting with unique combinations can transform your fudge into something extraordinary. Here are some creative variations to inspire you:
- Peanut Butter Swirl Fudge:
- Add dollops of peanut butter to the fudge mixture before it sets. Use a knife to create swirls for a visually stunning treat.
- Salted Caramel Fudge:
- Incorporate a layer of caramel sauce and sprinkle sea salt on top for a sweet-and-savory delight.
- Espresso Fudge:
- Mix in a shot of espresso or instant coffee granules for a caffeinated kick.
- Fruit-Infused Fudge:
- Fold in dried fruits like cranberries, cherries, or apricots for bursts of natural sweetness.
- S’mores Fudge:
- Layer crushed graham crackers and mini marshmallows into chocolate fudge for a campfire-inspired dessert.
Pro Tip: Don’t hesitate to combine multiple elements, like nuts and extracts, or try seasonal flavors to keep your creations exciting.
By focusing on the quality of your base ingredients and experimenting with thoughtful additions, you can create fudge that’s as flavorful as it is memorable. The possibilities are endless, making every batch a chance to explore new combinations and delight your taste buds.
Frequently Asked Questions
Why is my fantasy fudge not creamy?
Fantasy fudge can turn out grainy instead of creamy due to the formation of large sugar crystals. This often happens when the sugar is not dissolved completely during the cooking phase or if the mixture is stirred prematurely while cooling. To achieve a creamy texture, ensure that the sugar is fully dissolved by stirring consistently over low heat and avoid stirring the mixture until it has cooled to about 110°F. Additionally, using ingredients like corn syrup can help prevent large crystal formation. Learn more
Why is my 3-ingredient fudge not setting?
If your 3-ingredient fudge doesn’t set, it’s likely because the mixture didn’t reach the proper temperature during cooking. Fudge needs to be cooked to the soft-ball stage, which is between 234–240°F. Using a candy thermometer can help you hit this precise temperature. Another issue could be incorrect ingredient ratios; ensure you’re following a trusted recipe for the best results. Learn more
Is it okay to use butter instead of margarine in fantasy fudge?
Yes, butter is a great substitute for margarine in fantasy fudge and often enhances the flavor with its rich, creamy taste. However, butter has a slightly different water and fat content, so it may alter the texture slightly. To avoid potential issues, use unsalted butter and follow the recipe carefully. Learn more
How do I fix fudge that’s too soft?
Fudge that’s too soft can often be salvaged by reheating it. Place the fudge back into a saucepan, add a few tablespoons of water, and bring it back to the soft-ball stage (234–240°F). Afterward, allow it to cool undisturbed and beat it again until it thickens before setting.
Can I use alternative sweeteners in fudge?
Yes, alternative sweeteners like honey, maple syrup, or coconut sugar can be used in fudge, but they may alter the flavor and texture. These sweeteners also behave differently during cooking, so you might need to adjust the recipe and cooking times. Experiment with small batches to find the perfect balance.
What’s the best way to store fudge for long-term freshness?
To keep fudge fresh, store it in an airtight container at room temperature for up to two weeks. For longer storage, wrap each piece tightly in plastic wrap, place them in a freezer-safe container, and freeze. When ready to eat, let the fudge thaw at room temperature for the best texture and flavor.
Conclusion
Fudge-making is an art that combines science, creativity, and a touch of patience. From understanding the importance of temperature and sugar crystallization to experimenting with flavors and add-ins, every step offers an opportunity to perfect your craft. Whether you’re preparing a classic chocolate fudge or venturing into creative variations, the secret to perfect fudge lies in precision, quality ingredients, and a willingness to learn from each batch.
By addressing common challenges and exploring unique flavor combinations, you can create fudge that’s not only delicious but also a reflection of your personal style. So, gather your tools, embrace the process, and enjoy the sweet rewards of mastering the art of fudge. Your journey to making perfect fudge starts now!

